Create Your Own Marbled Mugs Using Nail Polish (Featuring a Video!)
=====================================================================================
In the spirit of DIY crafting and homemade gifts, a unique project has emerged that transforms ordinary mugs into marbled works of art. This budget-friendly initiative requires beginner-level skills and can be completed with ease, making it an ideal activity for crafters of all ages.
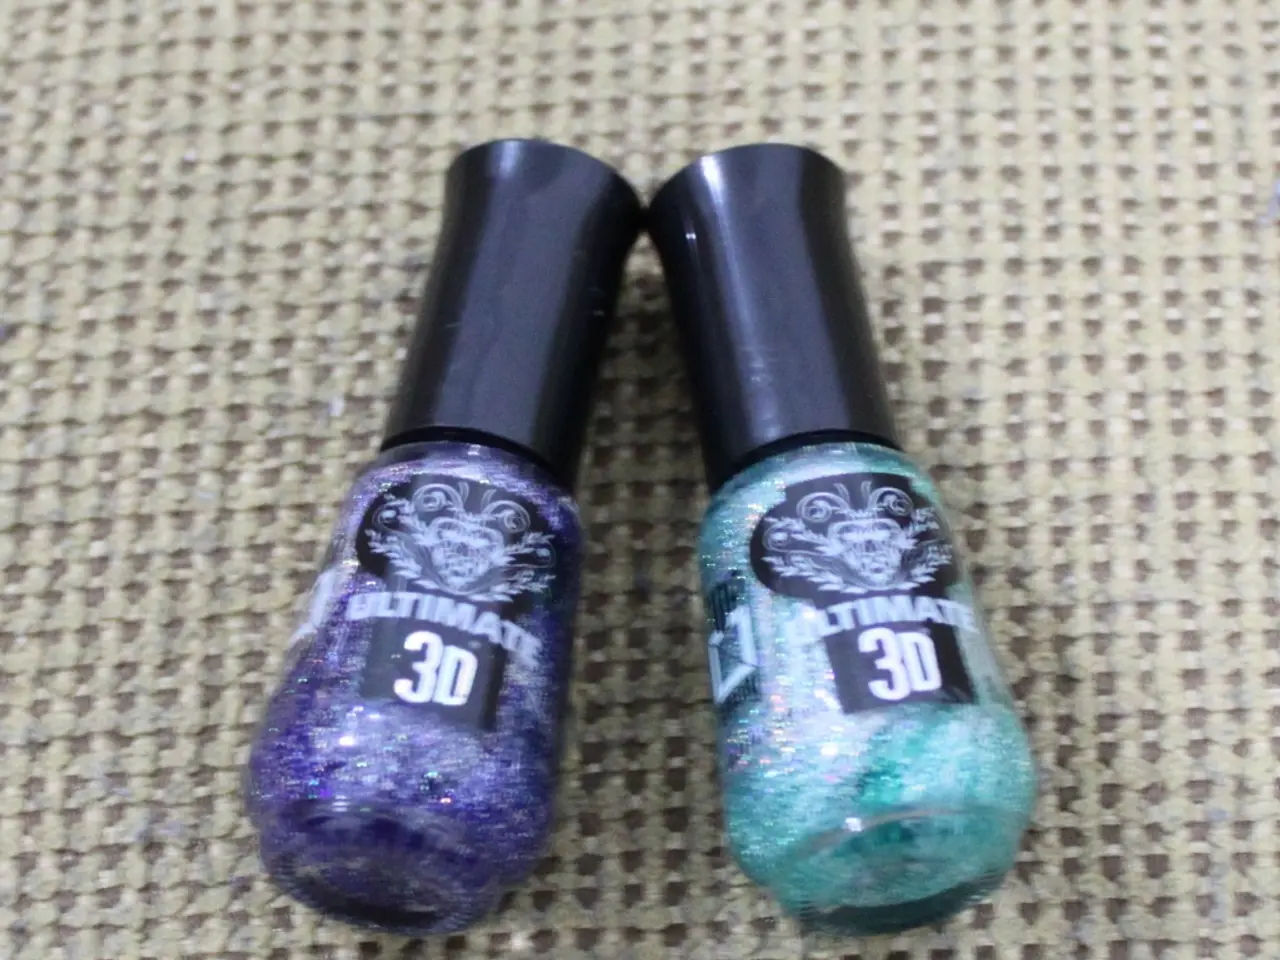
The project centres around decorating mugs with nail polish, creating a mesmerising marbled effect. To begin, you'll need to gather your materials: mugs (preferably found at Goodwill), nail polish (ensure it's not quick-drying), disposable water basin, cotton swabs, Dishwasher Safe Mod Podge, and a toothpick.
To create the marbled design, pour nail polishes in various areas and spread them out thoroughly over the surface of the water. Using a toothpick can help mix colours together and create a more creative marbled effect. Once satisfied with your design, carefully dip the mug below the lip line (at least on one side) into the water, ensuring an even distribution of the marbled pattern. Working quickly is essential, as the hot water will prevent the nail polish from drying too rapidly.
To seal the nail polish on the mugs with Dishwasher Safe Mod Podge for dishwasher safety, follow these steps:
- Prepare the mug surface: Start with a clean, dry mug that has no dust or oils on the painted area.
- Apply nail polish design: Paint your design with nail polish and allow it to dry completely.
- Seal with Dishwasher Safe Mod Podge:
- Use a thin, even coat of Dishwasher Safe Mod Podge over the nail polish area. This special Mod Podge formula offers extra protection for water exposure.
- Let the first coat dry for 30–60 minutes.
- For best results, apply 2–3 thin coats, allowing each coat to dry before the next. Light sanding between coats can improve smoothness if necessary.
- Cure and dry: Let the mug cure fully (typically 24 hours) after the final coat to ensure optimal sealing.
While Mod Podge Dishwasher Safe improves durability, repeated dishwasher cycles may still wear the seal over time, so hand washing may extend the life of your design[1][3][5]. Regular Mod Podge is not dishwasher safe, so be sure to use the specific Dishwasher Safe variant. Also, avoid using clear nail polish as a topcoat since it may peel or yellow; Mod Podge is more stable for craft sealing[3].
For a visual guide, a video demonstration of the marbled nail polish mug process can be found in the how-to card below. When dipping marbled mugs, it is recommended to only dip them below the lip line, at least on one side, for health reasons. To avoid clumps on the mugs, spread nail polish over the surface of the water close to the water, not from above.
This approach maximizes waterproofing and dishwasher safety when sealing nail polish designs on mugs with Mod Podge Dishwasher Safe, making these marbled creations perfect for homemade gifts. Happy crafting!
[1] Mod Podge Dishwasher Safe Instructions [3] Tips for Using Mod Podge on Ceramics [5] Mod Podge Dishwasher Safe FAQs
- Embrace the beauty of home-and-garden DIY projects by transforming your ordinary everyday mugs into marbled art pieces using Mod Podge Dishwasher Safe.
- By following this lifestyle hack, you can create unique, marbled home-and-garden décor perfect for gift-giving or enhancing your personal lifestyle.

)