
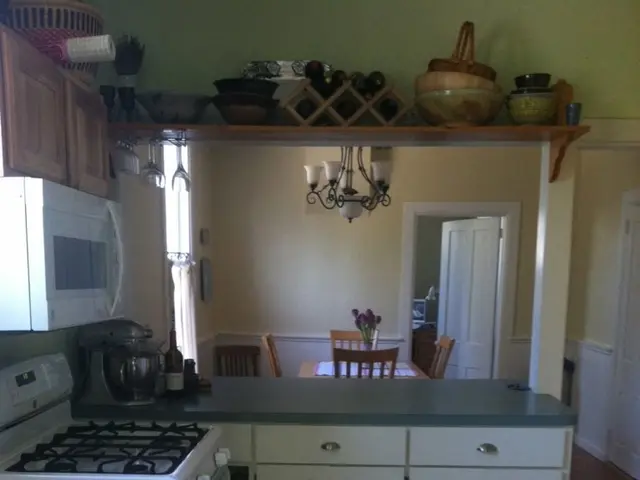
Instructions on Painting Kitchen Cupboards
Are you ready to give your kitchen a fresh, budget-friendly makeover? Look no further! This article will walk you through the process of painting your Shaker Style kitchen cabinets using oil-based primer and enamel paint.
**Preparation**
The first step is all about preparation. Remove all cabinet doors, drawers, and hardware such as handles, knobs, and hinges. Thoroughly clean the surfaces with a degreaser or trisodium phosphate (TSP) solution to eliminate grease, dirt, and residue. Lightly sand the surfaces with fine-grit sandpaper (220 grit) to roughen them for better adhesion. Wipe away the sanding dust with a tack cloth or damp rag, and allow to dry completely. Fill any holes or dents with wood filler and sand smooth.
**Priming with Oil-Based Primer**
Choose a high-quality oil-based primer designed for cabinets, ensuring good adhesion to wood or existing finishes. Stir the primer well and apply evenly over all surfaces with a high-quality synthetic-bristle brush or foam roller made for oil-based products. Apply primer in thin, even coats to prevent drips and runs. Allow the primer to dry fully according to the manufacturer’s instructions, typically several hours. Lightly sand primed surfaces with fine-grit sandpaper (320 grit) to smooth any imperfections, remove dust, and ensure a smooth finish.
**Painting with Oil-Based Enamel Paint**
Use an oil-based semi-gloss or gloss enamel paint designed for cabinetry or trim, which offers a durable, smooth, and washable finish. Stir paint thoroughly before and during application. Apply paint using a high-quality synthetic brush, foam brush, or cabinet roller to minimize brush marks. Paint in thin, even coats, and let each coat dry fully as recommended. Sand lightly between coats with very fine sandpaper (320-400 grit) for a smooth final finish. Apply 2-3 coats or as needed for full, even coverage.
**Additional Tips**
- Work in a well-ventilated area due to fumes from oil-based products. - Oil-based primer and enamel paint typically require longer drying and curing times compared to water-based products. - Avoid using latex primers under oil-based enamel paint; ensure compatibility. - Consider tinting primer slightly towards the paint color to improve coverage if going from dark to light colors.
By following these steps, you'll achieve a durable, professional-looking finish on your kitchen cabinets using oil-based primer and enamel paint. Touch up any needed areas on the final coat with a little paint, and repeat the painting process until you are satisfied with the results. Don't forget to remove hardware and shelves and clean them during the process.
Sand the painted cabinet surfaces with 220 grit sandpaper after each coat of primer and paint, and wipe down the sanded surfaces after each sanding. Apply the enamel paint by brushing corners and edges, then rolling the paint on. The primer should be brushed in the corners and edges, and rolled with a 4" foam roller.
With this affordable and easy-to-follow guide, you'll be well on your way to transforming your kitchen into a stylish and updated space!
Incorporating a fresh, budget-friendly interior design touch into your lifestyle, consider updating your kitchen by painting the Shaker Style cabinets with oil-based primer and enamel paint. To achieve a stunning home-and-garden transformation, follow the preparation steps mentioned in this article, paying close attention to sanding and priming techniques, for a durable and professional-looking result.

